Rolled Sushi- Japanese home cooking class in Tokyo
Rolled sushi, or "maki-zushi," is a star at events and parties. With just a few key points in mind, you can easily learn to roll beautiful sushi! Here, we'll introduce the basic method for rolling sushi, as well as some creative recipes to enjoy various ingredients.
Home made Rolled sushi- Japanese home cooking class in Tokyo
Please book from here.
Sushi rice
Ingredients;
Japanese Short-Grain Rice: 2 cups
Water: 2 cups
Kombu (dried kelp): 5 cm piece (optional)
Rice Vinegar: 4 tablespoons
Sugar: 2 tablespoons
Salt: 1 teaspoon
Instructions;
①Rinse and Soak the Rice
Rinse the Rice: Rinse the rice in a fine mesh strainer under cold running water until the water runs clear. This removes excess starch and impurities. Soak the Rice: Drain the rice and soak it in water for about 30 minutes to allow the grains to absorb water evenly.
②Cook the Rice
Using a Rice Cooker: Place the soaked rice and water in a rice cooker. If using kombu, place it on top of the rice. Cook according to the rice cooker's instructions.
Stovetop Method: Combine rice and water in a saucepan with kombu on top. Bring to a boil, then reduce heat to low and simmer for about 15-18 minutes or until the water is absorbed. Let it steam for an additional 10 minutes with the lid on.
③Prepare the Sushi Vinegar
Mix Vinegar Ingredients: Combine rice vinegar, sugar, and salt in a small saucepan.
Heat the Mixture: Heat the mixture over medium heat until the sugar dissolves. Alternatively, you can use a microwave to heat it briefly.
④Season the Rice
Transfer Cooked Rice: Once the rice is cooked, transfer it to a large, shallow dish or sushi oke. Remove Kombu: If using kombu, remove it from the rice.
Add Vinegar Mixture: Pour the cooled vinegar mixture over the rice while gently mixing with a rice paddle or wooden spatula. Use a cutting motion to separate the grains and distribute the vinegar evenly.
⑤Cool the Rice
Cooling Process: Fan the rice with a fan or use an uchwa to cool it down to room temperature. This helps prevent the rice from becoming sticky.
Final Touches: Once cooled, cover the rice with a damp cloth to maintain moisture and prevent drying out.
⑥Use the Sushi Rice
Ready to Use: Your sushi rice is now ready to be used for making sushi rolls, nigiri, or other sushi dishes. It's best used within a few hours of preparation
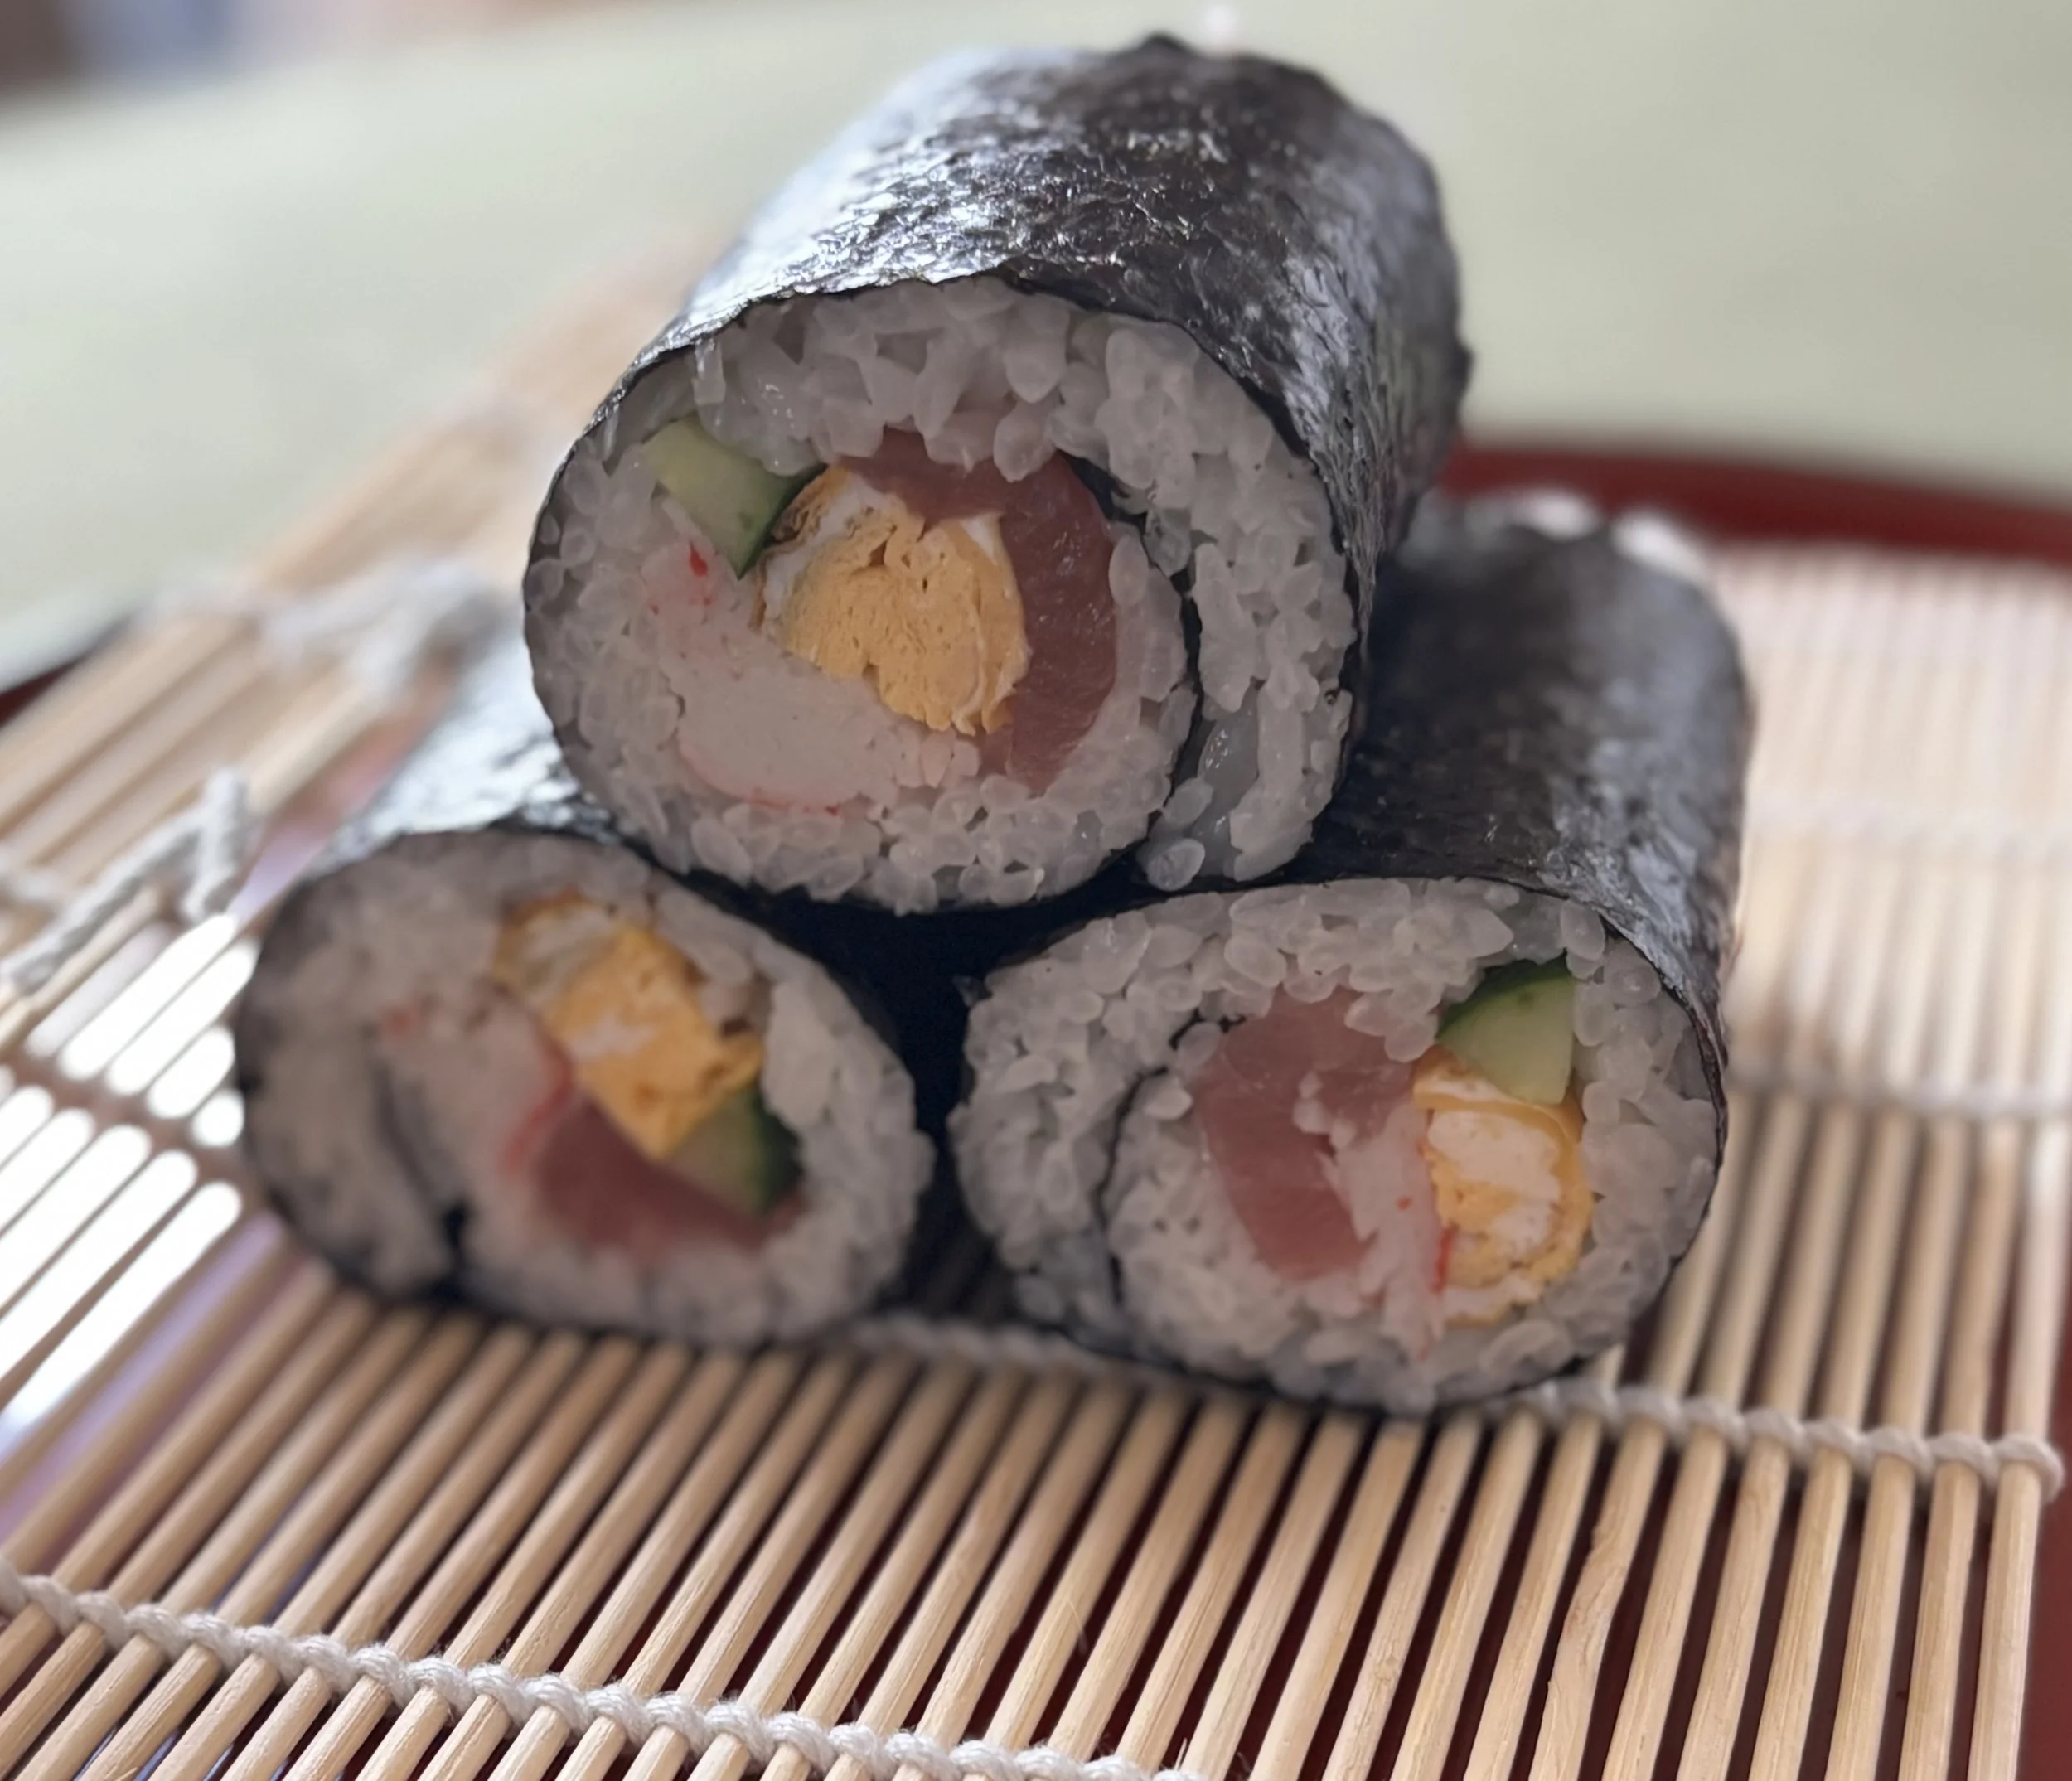
Sushi rolls
Ingredients;
Sushi rice: 200g
Nori sheet (19x21cm): 1 sheet
Fillings:
Tamagoyaki (Japanese omelette): 20g
Your choice of sashimi: 20g
Cucumber: 20g
Kanikama: 20g
Instructions;
Prepare the bamboo mat
Place the bamboo mat (makisu) with the smooth side up and the tied end facing away from you.Position the nori
Lay the nori sheet on the bamboo mat with the shiny side down and the short edge parallel to you.Spread the sushi rice
Spread the sushi rice evenly over the nori, leaving a 2cm gap at the top edge and a 5mm gap at the bottom edge. Also, leave about 3cm at the far end to help seal the roll neatly.Arrange the fillings
Place the fillings slightly below the center of the rice. Arrange the tamagoyaki, sashimi, cucumber, and kanikama in a line.Rolling technique
Lift the edge of the mat closest to you, holding the fillings gently with your fingertips. Roll the mat forward, enclosing the fillings. Use your right hand to grip the mat and pull it slightly towards you, while your left hand pushes the far end of the mat away, creating a tight roll.Shaping and cutting
Gently squeeze the roll through the mat to shape it. Remove the mat and cut the roll into 2cm wide pieces using a sharp, wet knife. Wipe the knife with a damp cloth after each cut.
This method will create a beautiful and delicious sushi roll with your chosen ingredients. Remember to handle the rice with slightly wet hands to prevent sticking, and ensure your knife is sharp for clean cuts.

Rolled Sushi class- Japanese home cooking class in Tokyo
Please book from here.